Drum Roll
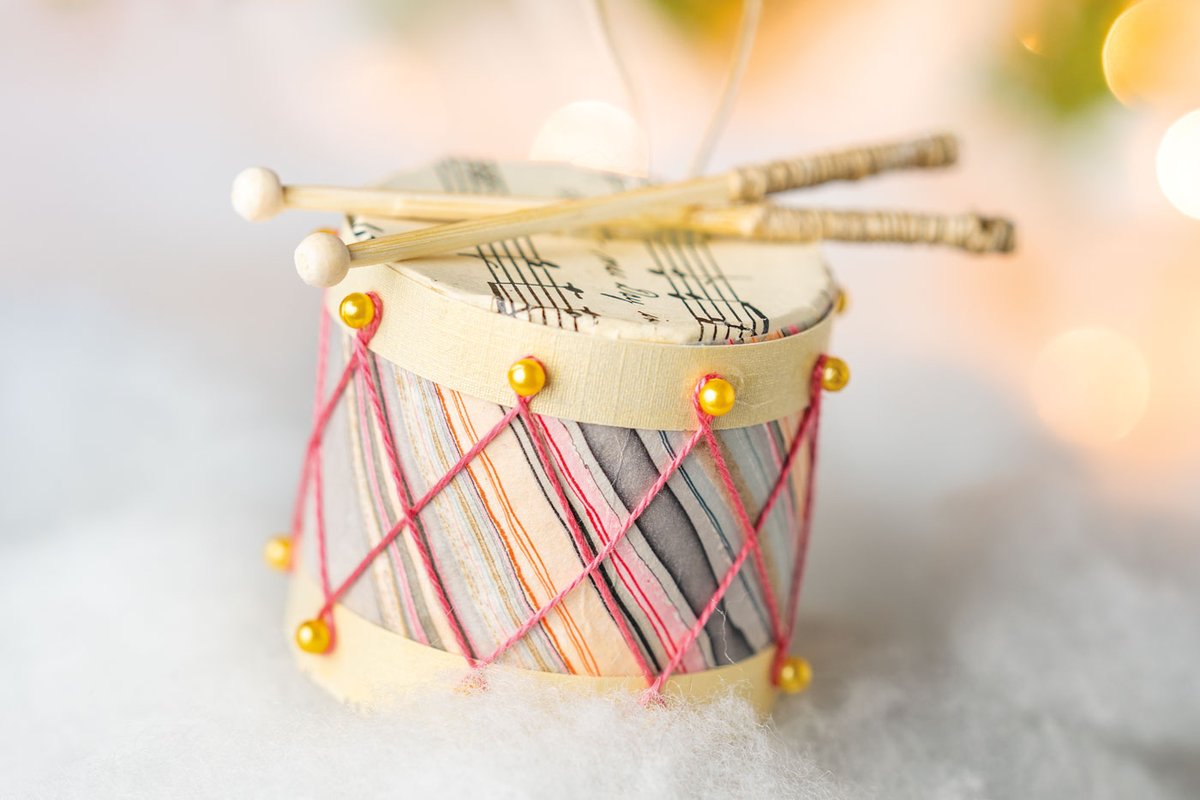
An ornament that can’t be beat
From calling minutemen to the Battle of Lexington to signaling surrender at the Siege of Yorktown, the drum earned its status as a symbol of the Revolutionary War.
During the war, each company typically included one drummer along with a fifer. The instruments were used to mark both the start and end of the day as well as to send signals across a battlefield and, when not in combat, entertain the troops.
The Colonial Williamsburg Fifes & Drums echo this history as they march through the Historic Area playing Revolutionary War field music.
The Art Museums of Colonial Williamsburg have added a number of drums over the years, including a colorfully painted toy one made of leather, wood and paper. It features familiar national symbols: a hand-colored lithograph eagle holding a shield, above which is a banner that reads “E PLURIBUS UNUM.”
What You Need
- Scissors
- Pencil
- 2 wooden skewers
- Colored thread
- Short ball head pins
- Lightweight cardboard
- Twine
- Cardboard craft tube, 2¼ inches wide
- 2 pieces of scrapbook paper of choice, 7¼ by ⅜ inches
- Piece of scrapbook paper of choice, 7⅛ by 2 inches
- Glue
- 2 wood beads
- Scrapbook paper
The Process
Step 1
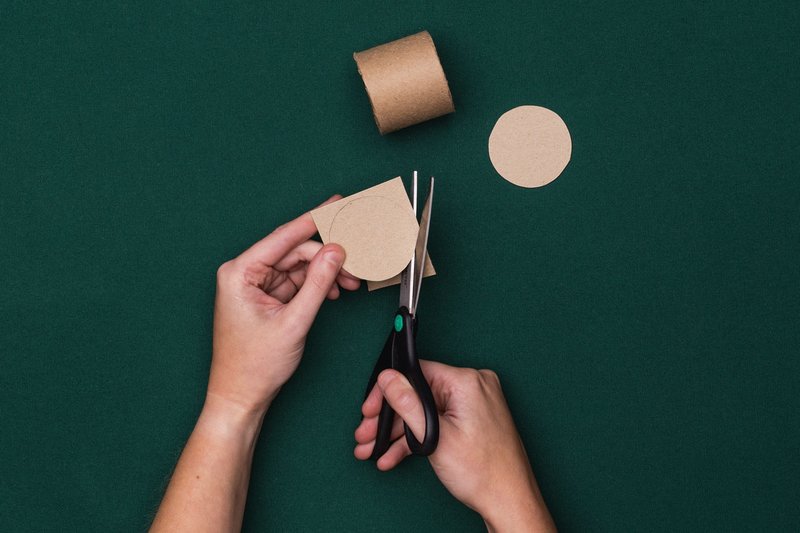
Cut a 2-inch-tall piece of the cardboard tube for the shell of the drum. Trace the opening twice onto the lightweight cardboard and cut out the circles.
Step 2
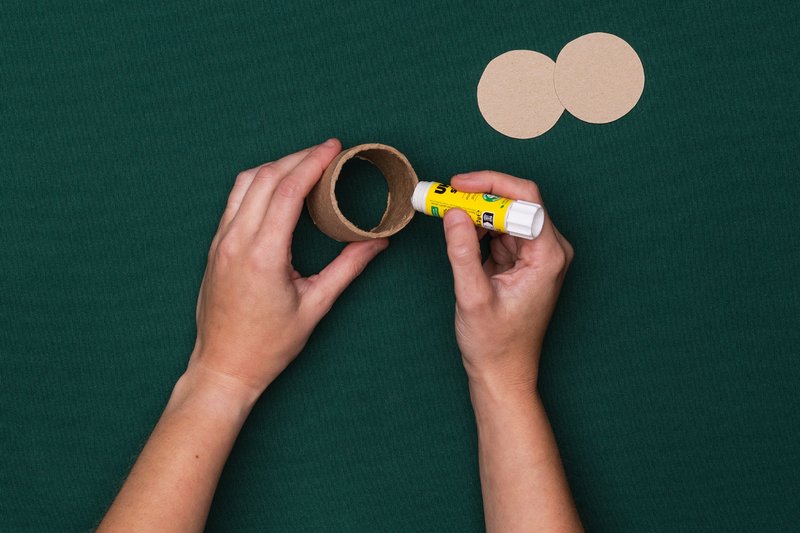
Glue a circle to each end of the drum shell.
Step 3
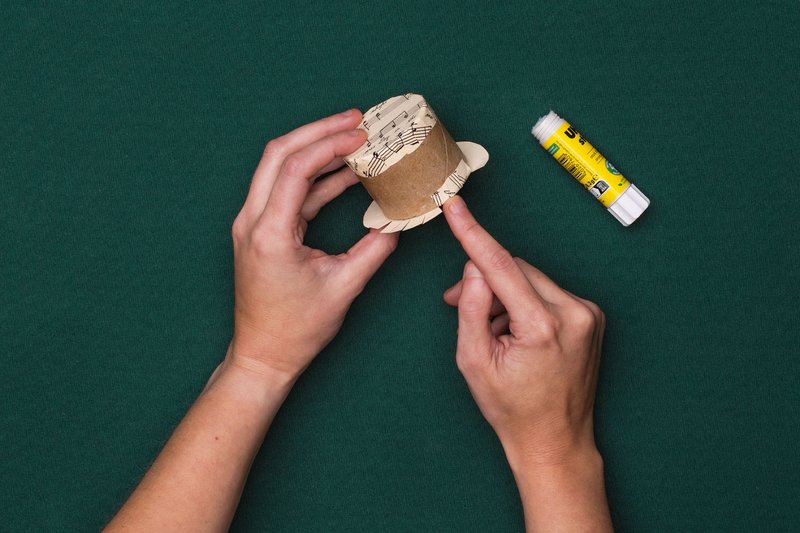
Once the glue is dry, glue one end of the drum onto a piece of scrapbook paper. Cut the paper in a circle around the drum leaving a ¾-inch border. Cut little slits from the outside of the paper toward the tube. Fold the snipped edges and glue to the tube. Repeat at the other end.
Step 4
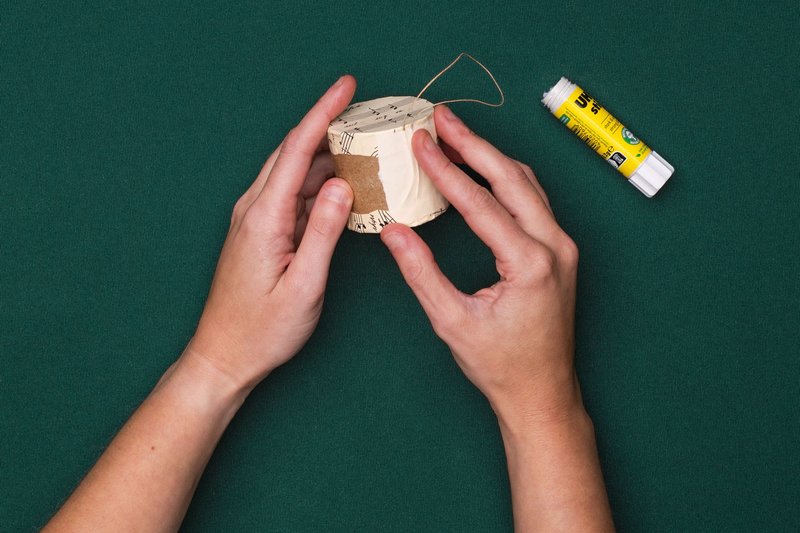
Create a loop out of twine and glue both ends of the twine, together, to the side of the tube. To help secure the twine to the tube, glue a small strip of scrap paper over the twine.
Step 5
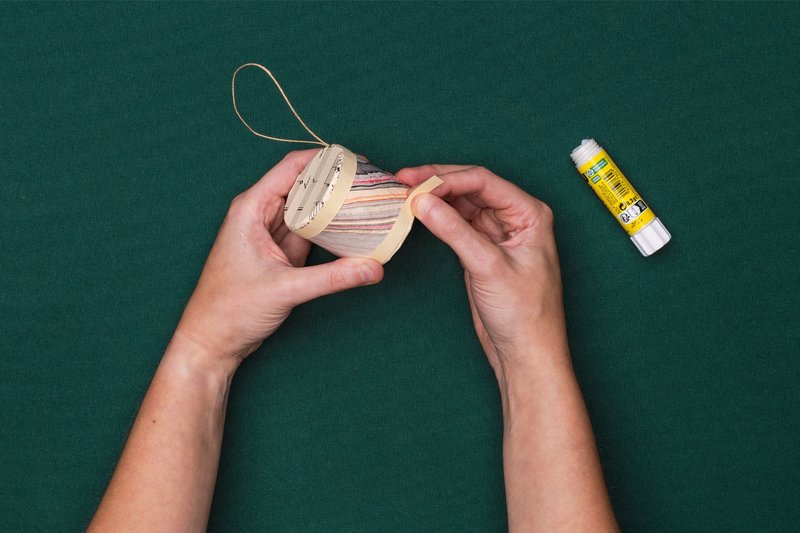
Glue a 7⅛-by-2-inch piece of scrapbook paper around the tube. Glue one 7¼-by-⅜-inch strip of scrapbook paper around each end.
Step 6
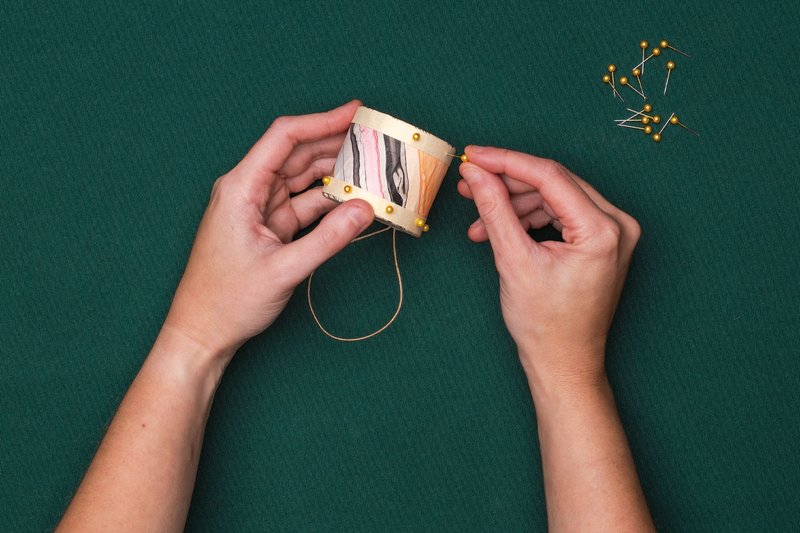
Push pins into the strips of scrapbook paper around the drum, roughly ½ inch apart.
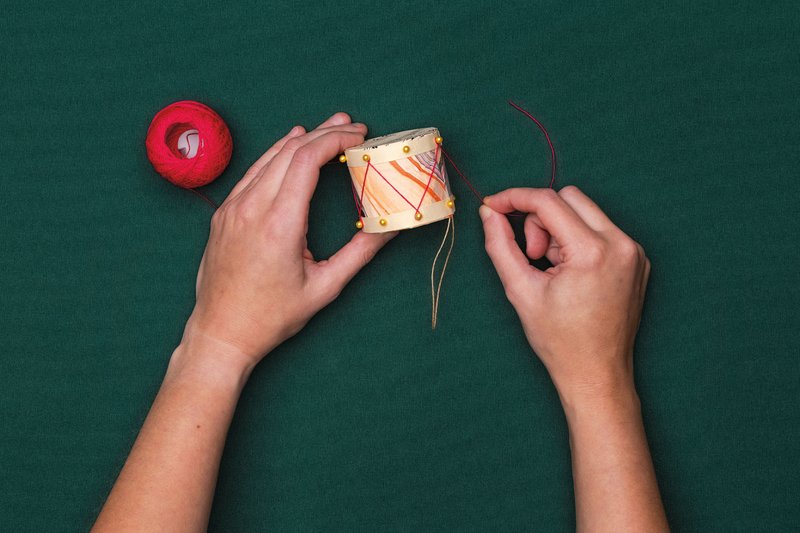
Step 7
Wrap the colored thread around the pins in a zigzag pattern.
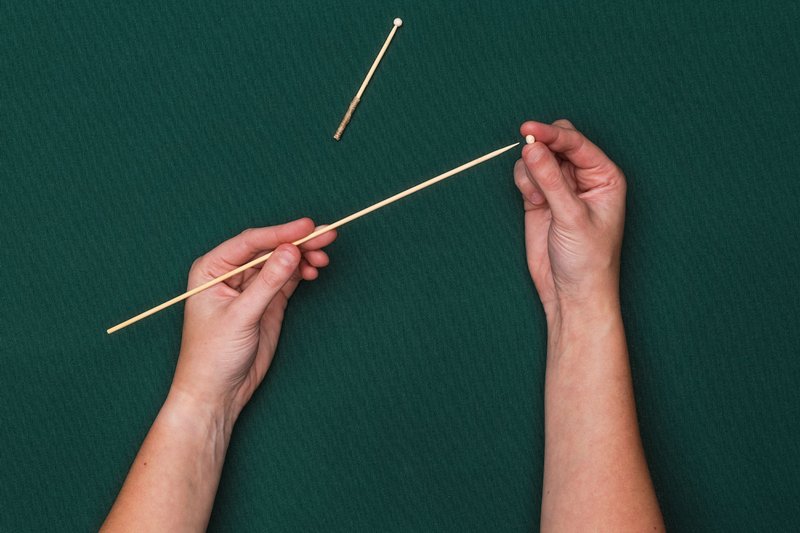
Step 8
For each drumstick, glue a wooden bead to the pointed end of a skewer. Snip off the pointed end flush with the bead. From the blunt end, trim the skewer to 3½ inches. Add glue to the bottom third of the stick and wrap with twine. Glue both sticks to the top of the drum.
More from this Issue