Trend & Tradition
Current Issue
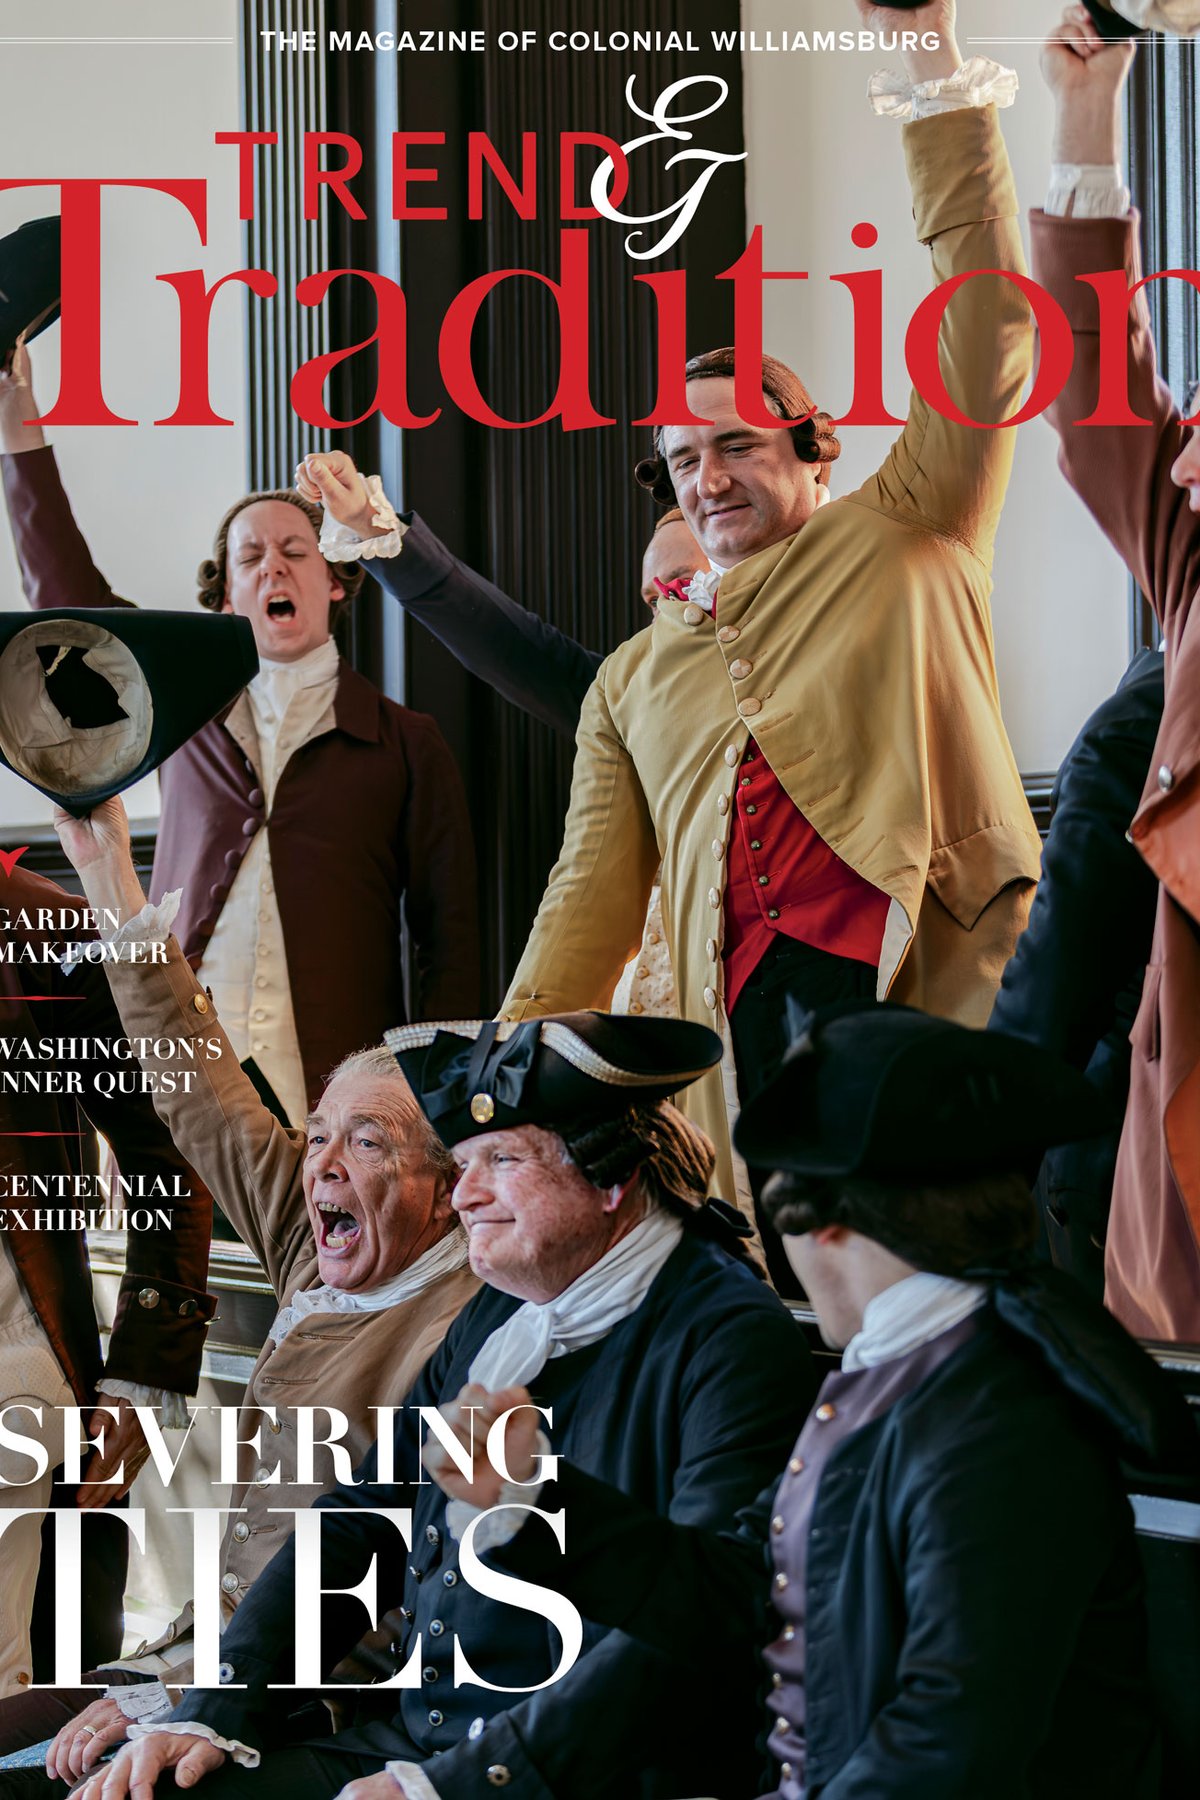
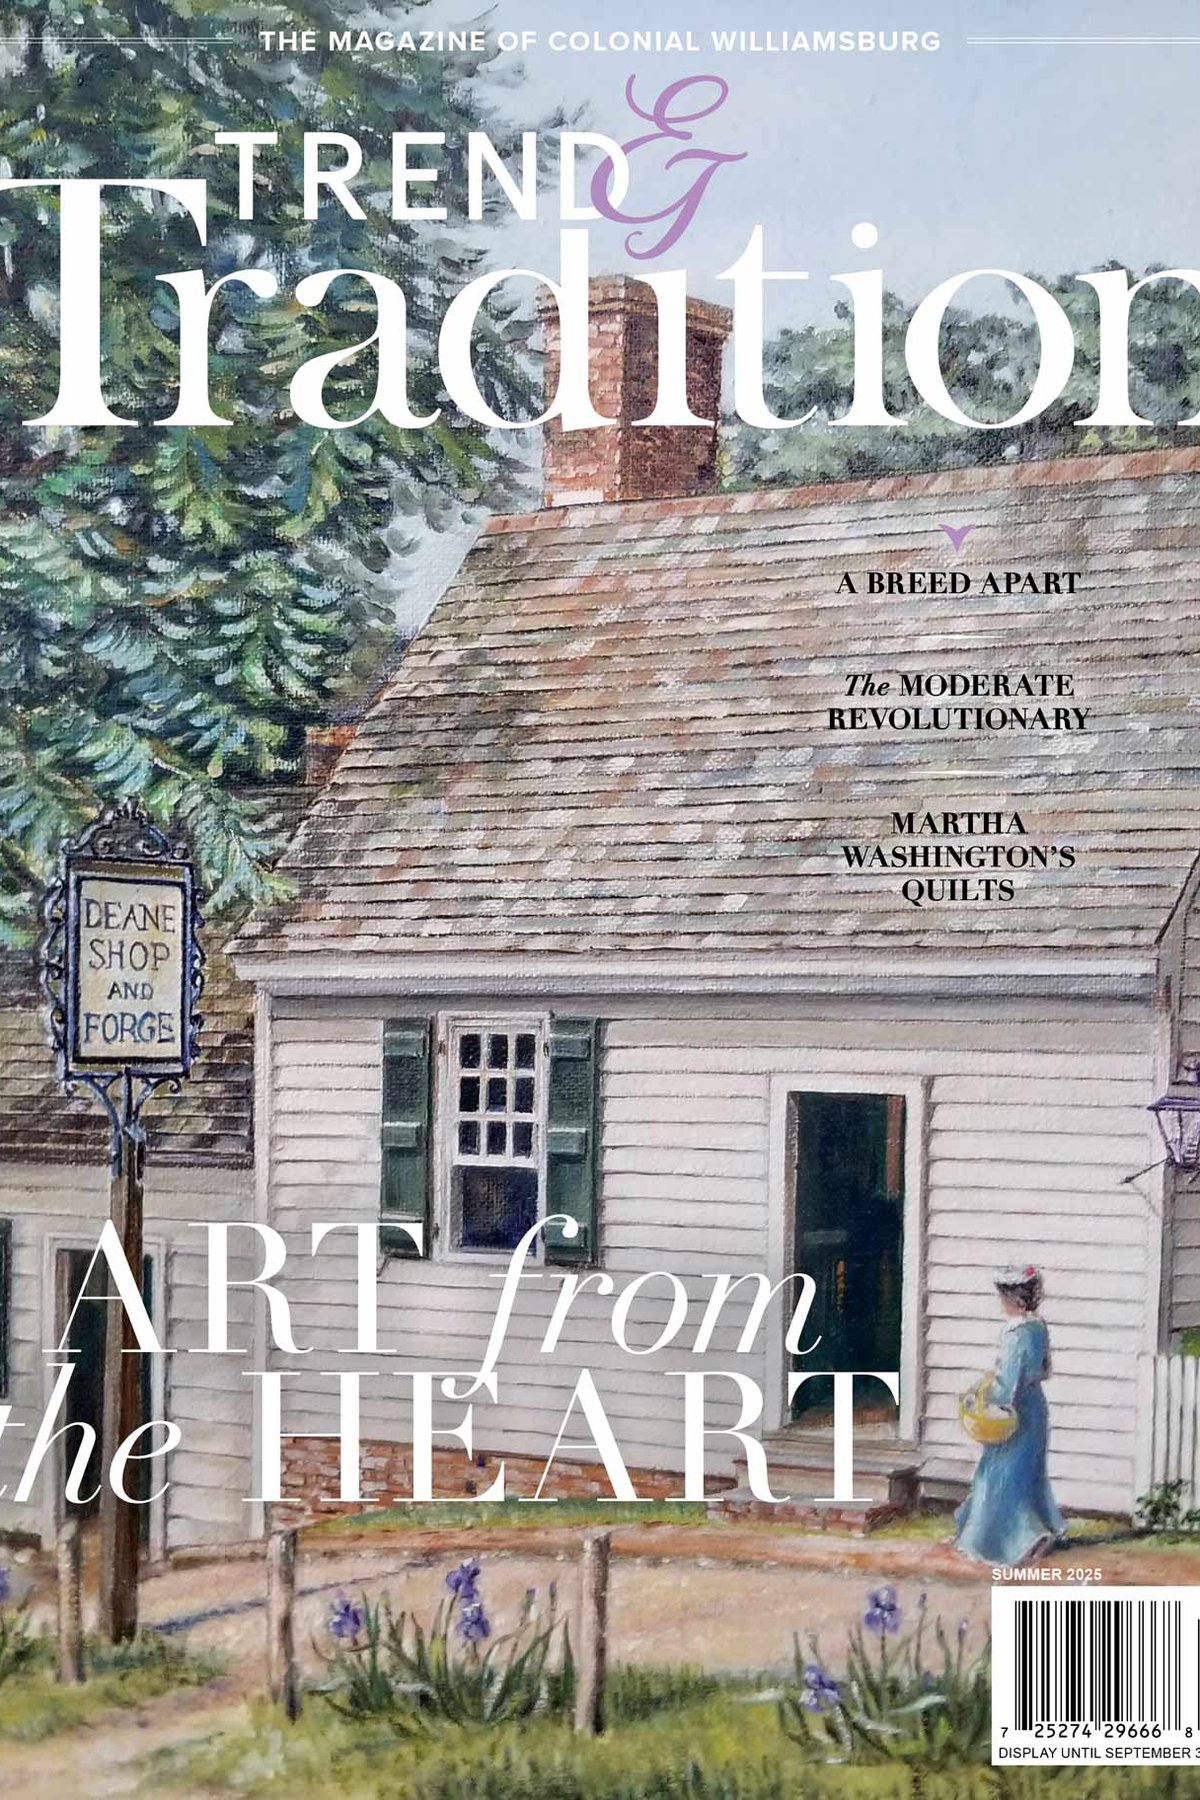
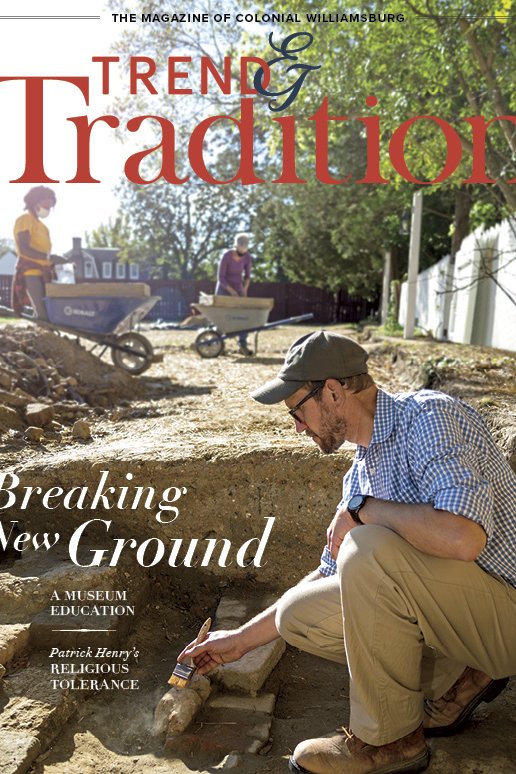
In this issue, find out more about the opening of the Colin G. and Nancy N. Campbell Archaeology Center. Learn more about William Stone's print of the Declaration of Independence and John Trumbull’s process of painting the Continental Congress and the Declaration of Independence. Explore ways to create summertime treats out of peaches.

All Issues
Colonial Williamsburg’s full-color quarterly magazine offers articles, photography, and art that showcase the life of Williamsburg’s historic core and its people — then and now. The printed magazine is mailed to individuals and organizations who donate $50 or more a year to the charitable, tax-exempt, and publicly supported Colonial Williamsburg Fund. The online version of the magazine offers a sample of stories from each issue.
Summer 2026
Spring 2026
Winter 2026
Autumn 2025

Summer 2025
Spring 2025
Winter 2025
Autumn 2024
Summer 2024
Spring 2024
Winter 2024
Autumn 2023
Summer 2023
Spring 2023
Winter 2023
Autumn 2022
Summer 2022
Spring 2022
Winter 2022
Autumn 2021
Summer 2021
Spring 2021

Winter 2021
Autumn 2020
Summer 2020
Spring 2020
Winter 2020
Autumn 2019
Summer 2019
Spring 2019
Winter 2019
Autumn 2018
Summer 2018
Spring 2018
Winter 2018

Autumn 2017
Spring 2017

Winter 2017
Autumn 2016
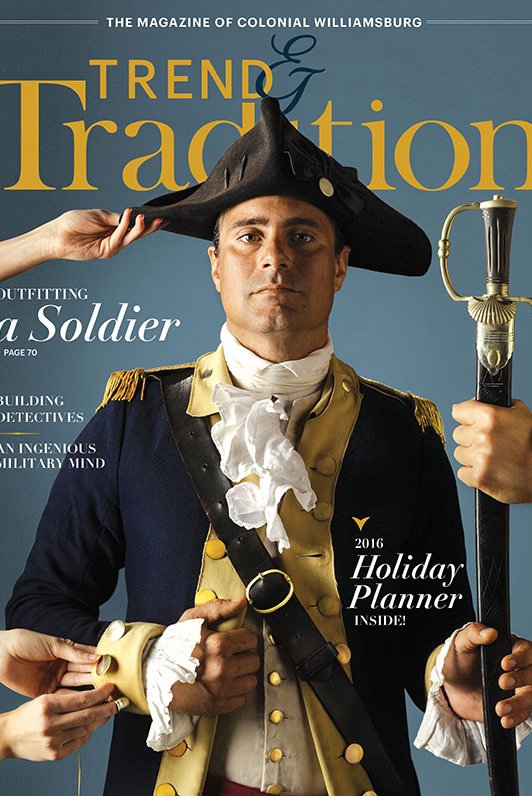
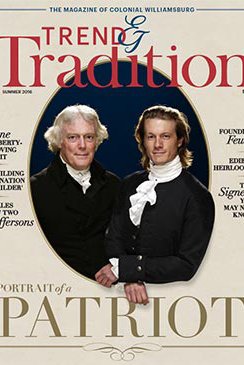
Summer 2016
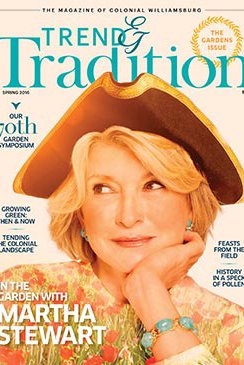
Spring 2016
Winter 2016